FeedBoss Documentation
White Label - Show Clients Your Agency, Not FeedBoss
Your clients see your agency's name, logo, colors and web address. They never see FeedBoss. Set it up once and it works in every workspace you own.
It covers everything your clients touch. Links open on your web address. Emails come from your email address. Even LinkedIn shows your agency’s name when they connect.
IMPORTANT
White label comes with the Pro plan or higher, paid monthly or yearly. It is not part of the free trial.
Good to know
- You set it up once. It works in every workspace you own.
- Only the account owner sees it. It sits in your main workspace, the one with your plan and billing. Your team doesn’t see it.
- It takes 4 steps. Only the first one is required. Each extra step hides FeedBoss in one more place.
- The pictures use a made-up agency called Northlane Studio, with
youragency.comas its web address. You will see your own name and address instead.
Before you start
Have these ready:
- Your agency’s logo, plus a version that looks good on a dark background, if you have one
- Your brand color, like
#2563EB(optional) - A web address you own, like
youragency.com, and the login for the place you bought it (for example GoDaddy, Namecheap or Cloudflare) - A LinkedIn company page for your agency (only for step 4)
Find white label
- Open your main workspace, the one with your plan and billing.
- Click Settings in the sidebar.
- Under Account, click White label.
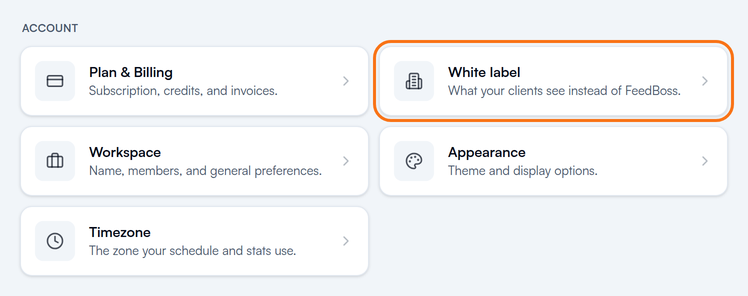
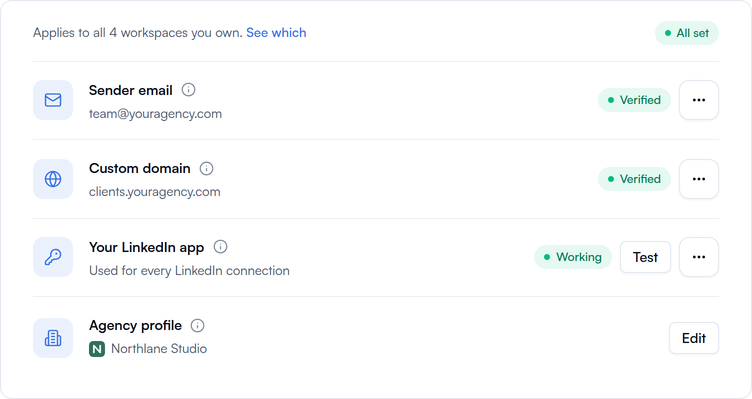
You will see 4 rows. Start with Agency profile, the last row. Then do the others.
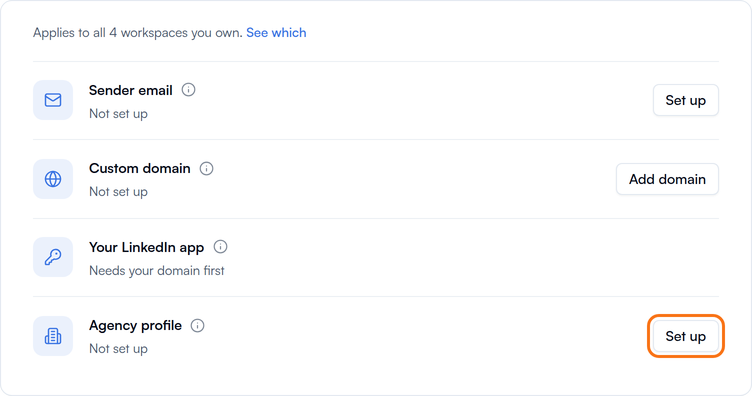
Step 1: Add your agency profile
This is the name and logo your clients see in place of FeedBoss.
- Next to Agency profile, click Set up.
- Type your Agency name.
- Add your Logo. Add a Dark version too, if you have one.
- Add your Brand color (optional).
- Check the Sign-in preview. It shows what your clients will see.
- Click Save.
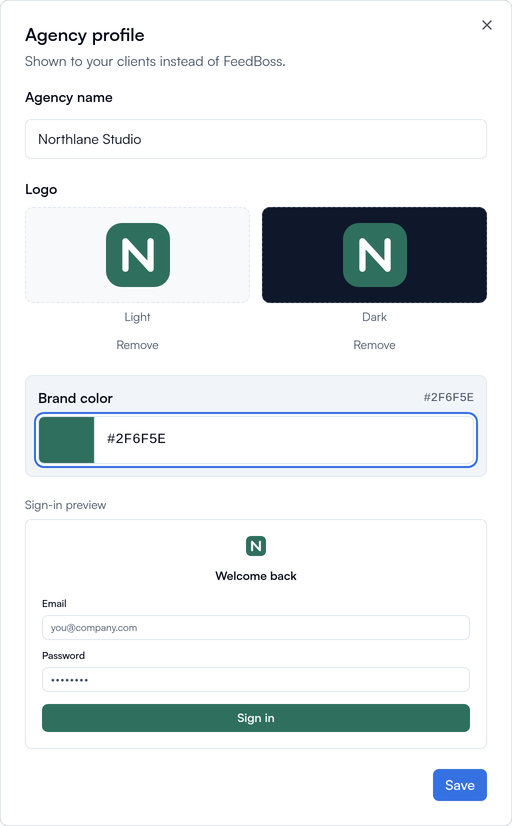
That’s it. White label is now on.
Your clients now see your brand on feedback links, on the emails that send them, and on the page where they connect their LinkedIn. These pages still open on app.feedboss.ai until you finish step 2.
Step 2: Use your own web address
Let your clients open links and log in on your own address, like clients.youragency.com, instead of app.feedboss.ai.
NOTE
New to this? Steps 2, 3 and 4 ask you to add a “DNS record”. It is a small setting you add at the place where you bought your web address. FeedBoss shows you exactly what to type. You copy it, paste it there, and save. If you’re stuck, ask whoever built your website. It only takes them a few minutes.
- Next to Custom domain, click Add domain.
- Type an address like
clients.youragency.com. It needs a word in front of your main address. Your main address (youragency.com) won’t work. - Click Continue.
- FeedBoss shows you what to add, usually one record. Click the copy buttons to copy the Name and Value. Add them where you bought your web address.
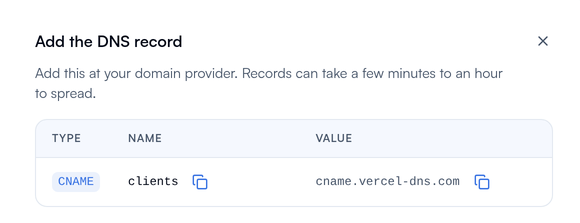
- Come back and click I’ve added it.
It can take up to an hour to start working. You can close the window and come back later. When it says Verified, you’re done.
What changes when it’s done:
- Your clients log in on your address. The login page shows your name, logo and color.
- Only people you invite can sign up there.
- The whole app shows your brand to your clients.
- Your own plan and billing stay on
app.feedboss.ai.
Step 3: Send emails from your own address
Right now, client emails show your agency’s name, but they are sent by FeedBoss. Replies come to you. After this step, they come from your own address, like team@youragency.com, and replies go to that inbox.
- Next to Sender email, click Set up.
- Type your email address. It must be on a domain you own, but not necessarily the one from step 2. Gmail, Outlook and other free addresses won’t work.
- Click Continue. FeedBoss shows you 3 records.
- Add all 3 where you bought your web address. Use the copy buttons for each Name and Value.
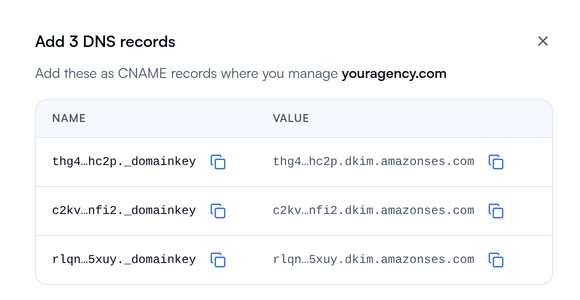
- Come back and click I’ve added them.
FeedBoss checks each record and marks it Found. When all 3 are found, it says Verified.
This can take a while. You can close the window. We’ll email you when it’s ready. Until then, your client emails keep going out as before.
Add the records within 3 days. After that, FeedBoss stops checking. Open White label again and it starts over and shows you the records to add.
Step 4: Show your name on LinkedIn
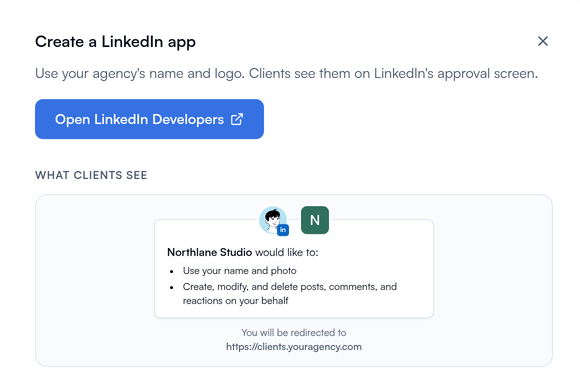
When a client connects their LinkedIn, LinkedIn shows a screen that says who is asking. Normally it says FeedBoss. After this step, it shows your agency’s name and logo.
Your custom domain must say Verified first. Until then, this row says Needs your domain first. Next to Your LinkedIn app, click Set up. A short guide opens with 5 parts. Follow it one part at a time.
- Create app. Click Open LinkedIn Developers. Make an app with your agency’s name and logo. LinkedIn asks you to link it to your company page. Then click Next. The preview shows the screen your clients will see on LinkedIn.
- Products. In your LinkedIn app, open the Products tab. Ask for Share on LinkedIn and Sign In with LinkedIn using OpenID Connect. Then click Next.
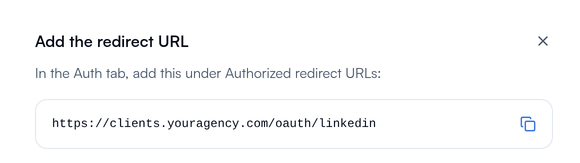
- Redirect URL. Copy the link FeedBoss shows. In your LinkedIn app, open the Auth tab and paste it under Authorized redirect URLs. Then click Next.
- Keys. In the same Auth tab, copy the Client ID and Client Secret. Paste them into FeedBoss. Tick the box to accept the LinkedIn app agreement.
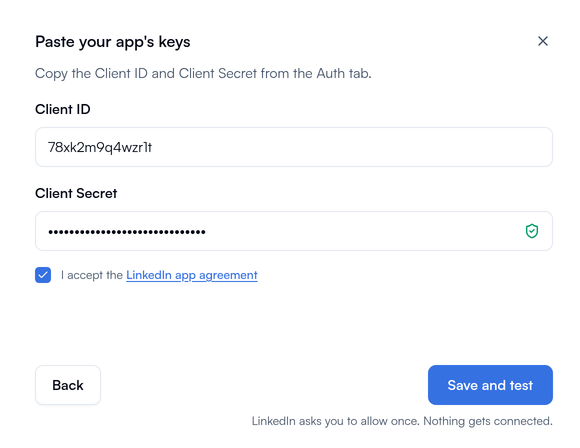
- Test. Click Save and test. LinkedIn opens and shows your agency’s name. Click Allow. Nothing gets connected. This only checks that your app works.
You land back in FeedBoss. When it says Working, every new LinkedIn connection in your workspaces shows your agency’s name.
You’re all set
When all 4 rows are done, the page says All set.
What your clients see
Right after step 1:
- Feedback links and their emails
- The page where a client connects their LinkedIn
After step 2:
- The login and sign-up page
- Workspace invites and login codes
- The whole app
After step 3: every email your clients get comes from your own address.
After step 4: LinkedIn shows your agency’s name.
Clients you invite don’t get a FeedBoss trial or FeedBoss news emails.
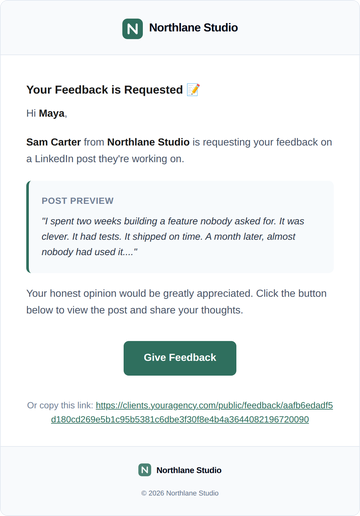
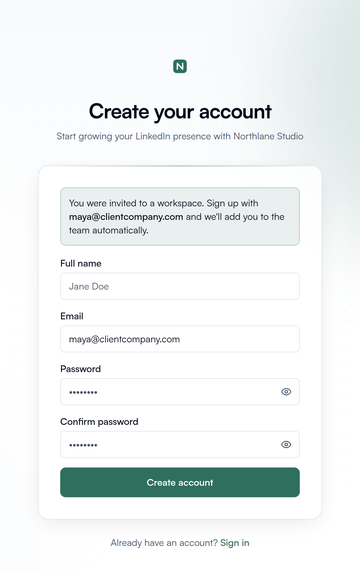
Here is what a client sees. The feedback email comes from your agency, and an invited client signs up on a page with your brand:
Bring your clients in
Get feedback on a post. Use Share for Feedback. Your client doesn’t need an account.
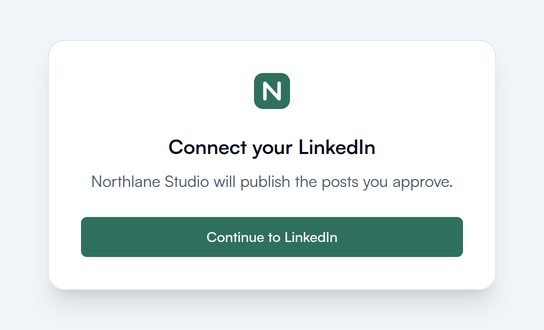
Let a client connect their LinkedIn.
- Open the client’s workspace.
- Go to Settings, then LinkedIn.
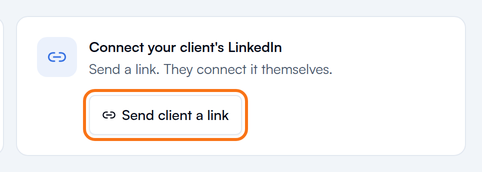
- Under Connect your client’s LinkedIn, click Send client a link. This card shows while the workspace has no LinkedIn connected.
- Copy the link and send it to your client. It’s shown only once, so copy it before you leave the page.
Your client opens the link and sees your brand. They don’t need an account.
Give a client a login. Once step 2 is done, invite them to their workspace as a Member. The invite comes from your agency, and they sign up on your web address.
Questions
It’s been an hour and it still isn’t working. Check that you copied the Name and Value exactly. One missing letter is enough to stop it.
I use Cloudflare. Set each record to DNS only (the grey cloud), not Proxied.
My email address has an extra part, like team@mail.youragency.com.
Add that extra part to the end of each record name. For example, abc._domainkey becomes abc._domainkey.mail.
My sender email says “Emails paused”. One of the records stopped working, so FeedBoss holds your client emails, including invites and sign-up codes. That way nothing goes out under the wrong name. Click Fix and check that every record it shows is in your DNS exactly as shown. Replace any that are different.
LinkedIn shows an error page. Go back to FeedBoss. In your LinkedIn app, check the two products from part 2 and the redirect URL from part 3, copied exactly. Then click Test in the Your LinkedIn app row. Once your app says Working, the row’s menu also has Seeing a LinkedIn error page? with the same checks.
Can I change or remove something later? Yes. You can change or remove each step at any time. If you remove your web address, links you already sent on it stop working.
Related
- Public Feedback Link
- Approvals
- Brand Kit: the brand used in your posts. It is separate from your agency profile.
- Settings